top of page

Project management for R&D
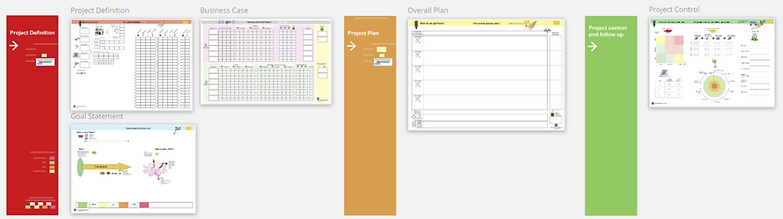
Configure a board in Miro

2. Download all the templates and configure a board
Download the zip file with all the preconfigured templates and place it in a folder. Unzip the content in the same folder.


3. Import all the templates
Click on " + Create new" and select import and locate the PM for R&D PDF.rtb file.
Click here and select the preconfigured boards file:
"PM for R&D PDF.rtb"
4. Rename the new board

First, go to the top left corner of the board and click on the Miro logo. A new window will open with all your boards and templates.
Second, click the three dots to the right and select the option to rename your board.

5. Share and invite people to the board

Click the Share button at the top right corner and invite your team and stakeholders.
6. Your board is ready to go

bottom of page